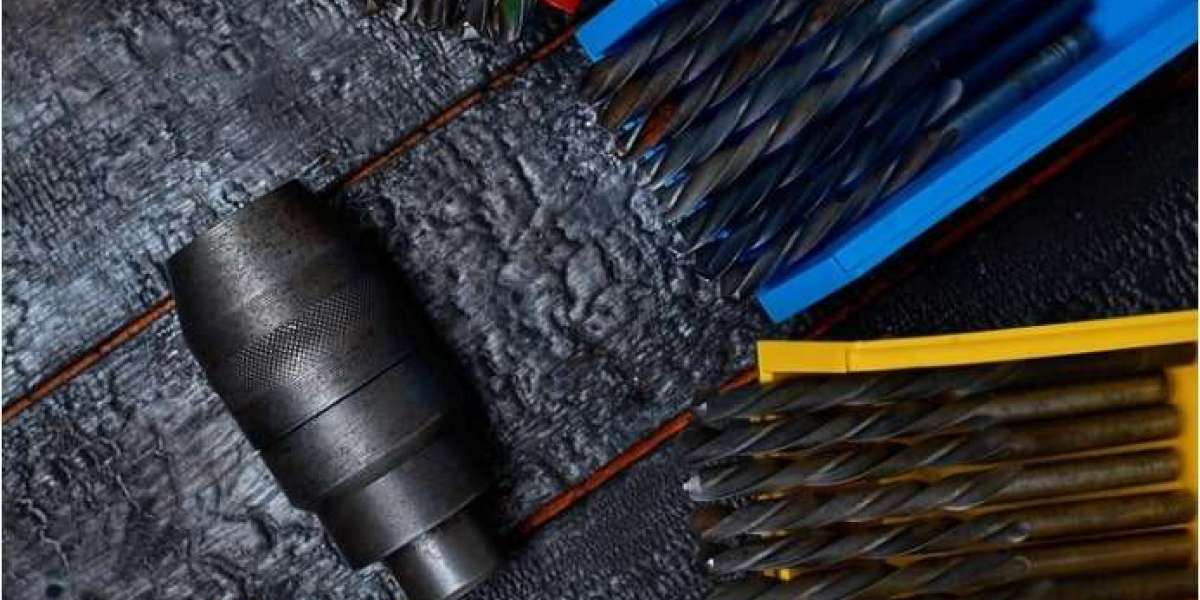
Threading tools are in demand in many industries like manufacturing, automobile, and aerospace. In order to make screws, bolts, and other threaded parts that hold things together, the professionals need tools like dyes and taps. These tools create the spiral grooves, or "threads," that allow fasteners to fit together tightly and securely. Whether for a simple household project or a large industrial machine, thread-creating tools are vital to everyday life. But how are they made? In this blog, we will most simply break down the making process of threading tools. We will also share the best threading tool manufacturer to help you make a wise purchase. Stay tuned with us.
What Are the Types of Threading Tools?
We have discussed a general idea of threading tools in the intro part. The most common types of threading tools include:
- Taps create internal threads, like the ones found inside a nut.
- Dies are used to create external threads, like those on a bolt.
- Electric cutting tools create threads with high precision.
Now, let’s walk you through the steps involved in making these tools!
Step 1: Material Selection
The first step in making threading tools, i.e., industrial tools, is choosing the right material. Since these tools cut or form threads in hard metals, they need to be made from durable and strong materials. High-speed steel (HSS) is a popular choice, but manufacturers may also use carbide, cobalt, or other specialized alloys for tools that need to withstand extreme wear and tear.
The material must be strong enough to resist the pressure and heat it will encounter while cutting through metal. A high-quality threading tool will last much longer and perform better under harsh conditions.
Step 2: Tool Design and Blueprinting
Once the material is selected, the next step is designing the industry tool. Engineers use Computer-Aided Design (CAD) software to create detailed blueprints of the tool. This design will show the shape, size, and cutting features of the tool. The blueprint includes all the necessary dimensions and specifications, such as the angle of the threads, the depth of the cuts, and any other features specific to the tool.
Using CAD software ensures that the threading tool is designed precisely so it will fit perfectly with other parts during manufacturing.
Step 3: Shaping the Tool
After the design is complete, it's time to start shaping the threading tool. This step usually involves several different techniques:
- Grinding: The raw material is ground down using a grinding wheel to achieve the correct shape. This very precise process ensures the tool has the right dimensions and sharp cutting edges.
- Milling: Milling machines cut the material into the desired shape for some threading tools. The machine uses rotary cutters to remove small pieces of material, making it an ideal method for creating complex designs.
- Turning: In turning, a piece of material is rotated while a cutting tool shapes it. This technique is mainly useful for making cylindrical threading tools like dies.
The threading tool takes its final shape at this stage, with sharp edges or grooves ready to form threads.
Step 4: Heat Treatment (Hardening)
Once the basic shape of the threading tool is created, it is heat-treated to make it harder and more durable. This process is called hardening, and it involves heating the tool to a very high temperature and then cooling it rapidly in oil or water. The hardening process is important because threading tools need to maintain their sharpness and precision over many uses.
Step 5: Cutting and Grinding the Threads
The next step is the most important part, i.e., cutting the threads. The exact method of cutting the threads depends on the type of threading tool being made:
- Taps are usually created using specialized cutting tools that can precisely carve internal threads into holes.
- Dies are made using machines that can cut external threads onto rods or bolts.
- Machine taps use CNC machines to cut threads on various materials precisely and accurately.
Step 6: Finishing Touches
Once the threading tool has been shaped and the threads have been cut, it’s time for the finishing touches. This includes several steps:
- The tool is polished to ensure smoothness.
- Some threading tools are coated with materials like TiN (Titanium Nitride) to make them even more durable and resistant to wear.
Step 7: Quality Control and Testing
Before the threading tools are shipped out to customers, they go through a strict quality control test. Manufacturers check each tool to make sure it meets the specifications and quality standards. Some of the tests include:
- Dimensional inspection
- Hardness testing
- Performance testing
Conclusion
The making of threading tools involves several precise and detailed steps. These tools create threaded parts used in everything from cars to machines to furniture. If you need high-quality manufacturing or industrial tools, such as taps, dies, and machine taps, Volkel Store provides durable and high-performance tools. Explore their thread-cutting tools now!


