Our interactions with our living spaces have been completely transformed by home automation, which has improved the comfort, effectiveness, and convenience of our houses. This change is mostly due to the Heatmiser RF Switch V2, which provides sophisticated control over heating systems and other electrical equipment. This comprehensive tutorial explores the features, advantages, setup, and uses of the Heatmiser RF Switch V2, offering both experts and homeowners a thorough rundown.
Knowing How to Use the Heatmiser RF Switch V2
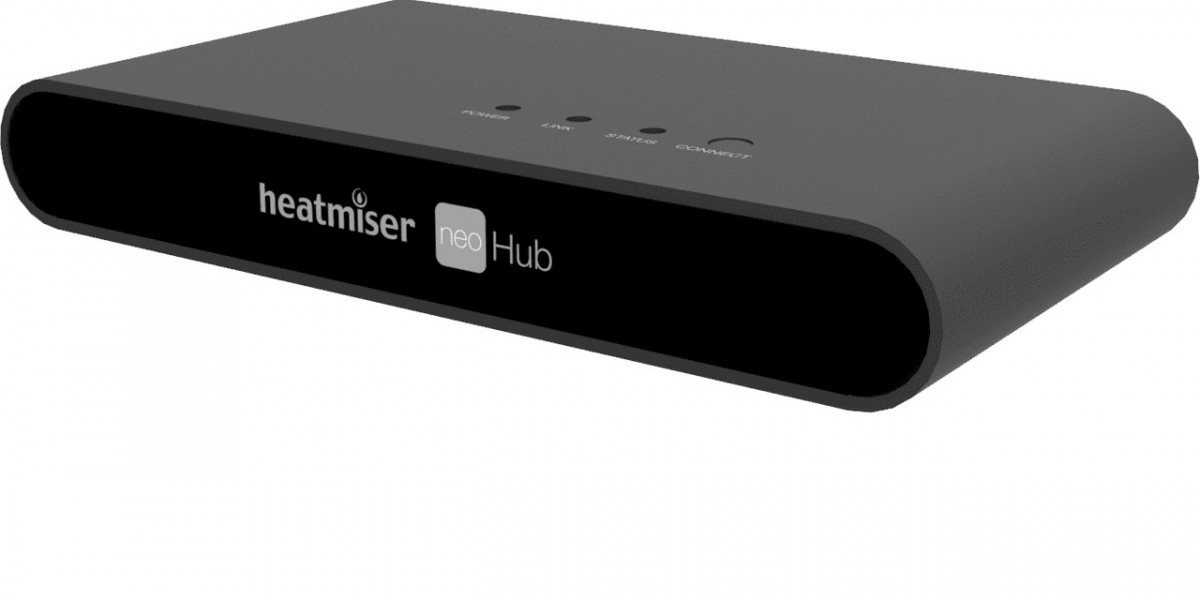
A wireless switching device, the Heatmiser RF Switch V2 is made to work in unison with the Heatmiser line of home automation products. Using a smartphone app or central control unit, customers can remotely operate heating systems and other electrical appliances. Since there is no need for substantial wiring, the device's radio frequency (RF) technology ensures dependable communication and convenience of installation.
The Heatmiser RF Switch V2's primary features are
· Wireless Connectivity: Remote control and automation are made possible by wireless connectivity, which makes use of RF technology to communicate wirelessly with other Heatmiser devices.
· Versatile Applications: May be utilised to operate a range of electrical equipment, such as lighting systems, pumps, and boilers.
· Energy Efficiency: Provides exact control over appliances and heating systems, which helps optimise energy consumption.
· User-Friendly Interface: Compatible with the Heatmiser Neo system, offering intuitive control through an easy-to-use interface via the Neo app.
· Simple Installation: It is perfect for both new installations and retrofits because it is made for easy installation without requiring a lot of rewiring.
· Robust Performance: Designed for a variety of household and commercial uses, this product offers dependable functioning and long-term durability.
The Heatmiser RF Switch V2's advantages
Numerous advantages provided by the Heatmiser Switch by companies like Superflow UFH improve the efficiency, comfort, and convenience of your home automation system.
Improved Convenience and Comfort
· Having remote control access to your heating system and other equipment means that your house will always be perfectly heated when you get home.
· The Heatmiser Neo app's integration makes it possible to change settings from any location, offering the utmost ease.
Enhanced Energy Effectiveness
· The RF Switch V2 gives you exact control over your heating system, which helps you save money on utility bills and energy waste.
· You can further improve energy efficiency by heating your home only when necessary with scheduled heating.
Simple Integration
· Without requiring any changes, the RF Switch V2 expands the capability of Heatmiser systems that already exist. It interfaces with them in an effortless manner.
· Because of its wireless architecture, installation is made simpler by not requiring complicated wiring.
Adaptable Uses
· A versatile addition to any home automation setup, the RF Switch V2 may be used to manage a wide range of electrical appliances, not just heating systems.
· Suitable for usage in a variety of settings, including homes and businesses, and providing versatility.
Dependable and Sturdy
· The RF Switch V2 is another one of the heatmiser products that are renowned for their dependability and robustness. It offers comfort by guaranteeing steady performance over time.
Setting up and Installing
The Heatmiser RF Switch V2 is simple to install, making it suitable for both professional installers and do-it-yourselfers. Here's a step-by-step tutorial to get you going:
Getting ready
· Make sure you have all the required parts before installing, such as the RF Switch V2, a compatible Heatmiser control unit, and any required tools.
· To guarantee safety, cut the power to the electrical circuit where the switch is to be installed.
Attaching the V2 RF Switch
· Ascertain that the RF Switch V2 is within range of the central control unit for dependable RF communication when choosing a site.
· Install the switch firmly by using the included fasteners and fittings.
Connecting the Switch
· Using the user manual's wiring diagram as a guide, attach the electrical wiring to the correct terminals on the RF Switch V2.
· Make sure every connection is secure and correct by checking it twice.
Connecting the Control Unit Pair
· After installing and wiring the switch, turn back on the power supply and couple the Heatmiser control unit and RF Switch V2.
· To finish the process, adhere to the pairing directions found in the user handbook or the Neo app.
Setting Up Preferences
· Schedules, temperature setpoints, and other configuration options for the RF Switch V2 can be set via the Neo app.
· To make sure the switch is functioning properly and communicating with the control unit efficiently, test it.