Installing carpet tiles can be a fantastic way to revamp your space. Whether you’re looking to increase comfort in a home office, add style to a playroom, or simply refresh a bedroom, carpet tiles offer an easy and versatile solution. This step-by-step tutorial will guide you through the entire installation process, ensuring a seamless and professional finish.
Why Choose Carpet Tiles?
Before diving into the installation steps, it’s worth noting some advantages of carpet tiles:
Versatility: They come in various colors, patterns, and textures, allowing for creativity in design.
Easy Maintenance: Individual tiles can be replaced if damaged, making upkeep straightforward.
Better Air Quality: Carpet tiles often contain fewer allergens than traditional carpeting.
DIY Friendly: They are relatively easy to install, making them suitable for DIY enthusiasts.
Now, let’s get started!
Materials Needed
Before you begin, gather the following materials:
Carpet tiles (enough to cover your area)
Adhesive (if required by the tile type)
Carpet knife or scissors
Measuring tape
Straightedge or ruler
Chalk line or marker
Trowel (for adhesive)
Utility knife
Knee pads
Vacuum cleaner
Step 1: Measure Your Space
Start by measuring the area where you wish to install your carpet tiles. Use a measuring tape to get the length and width of the room. Calculate the total square footage by multiplying these two dimensions:
```
Length x Width = Square Footage
```
Don’t forget to account for any furniture or permanent fixtures in the room.
Step 2: Purchase the Right Amount of Carpet Tiles
Once you have your room’s dimensions, you can determine how many carpet tiles you’ll need. Carpet tiles typically come in standard sizes, such as 18”x18” or 24”x24”. For example, if your room measures 10’ x 12’ (120 square feet), and you’re using 18”x18” tiles (which cover 2.25 square feet), you would require about 53 tiles (120 ÷ 2.25).
It’s a good idea to purchase an extra 10% to allow for mistakes or future repairs.
Step 3: Prepare the Subfloor
Clean the Subfloor
Make sure the subfloor is clean, dry, and smooth. Vacuum thoroughly to remove dust, dirt, or debris. If the floor has any bumps or imperfections, consider using a leveling compound or sandpaper to smooth it out.
Check for Moisture
It’s essential to check the moisture content of your subfloor, especially if you’re installing on concrete. Use a moisture meter to ensure it’s within acceptable limits. High moisture can lead to issues with adhesion or mold.
Step 4: Plan Your Layout
Before sticking down any tiles, plan your layout. Begin from the center of the room and work outward. Here’s how:
Find the Center: Use a chalk line to mark intersecting lines at the center of the room. This is where your first tile will be placed.
Dry-Fit the Tiles: Lay out the tiles without adhesive to visualize the design. This step helps identify how many whole and cut tiles you’ll need.
Step 5: Cut Tiles as Needed
Once you have your plan, you may need to cut some tiles to fit against walls or around obstacles:
Measure and Mark: Using a straightedge, measure the area where the tile needs to be cut and mark it on the tile.
Cut the Tile: Use a utility knife and a straightedge to trim the tile. Cut slowly and ensure you cut all the way through for a clean edge.
Step 6: Apply Adhesive
If your carpet tiles require adhesive, now is the time to apply it.
Use the Appropriate Trowel: Depending on the adhesive type, use a trowel recommended by the adhesive instructions.
Spread the Adhesive: Apply adhesive to the subfloor using a consistent depth. Follow the manufacturer’s instructions to ensure proper application.
Step 7: Install the Carpet Tiles
Now for the exciting part – installing your tiles!
Start from the Center: Begin placing tiles at the center point, following your chalk lines. Press them firmly onto the adhesive and shift them slightly if needed for a snug fit.
Work Outward: Continue placing tiles outward, working towards the wall. Maintain consistent spacing and alignment.
Check for Level: As you install each tile, periodically check that they are level and that there are no gaps.
Step 8: Cut Tiles for Edges
As you near the wall, you’ll likely have to cut tiles to fit:
Measure: Measure the gap next to the wall or obstacle.
Mark & Cut: Follow the same cutting process as before.
Step 9: Let it Settle
Once all tiles are installed, give them adequate time to set. Follow the adhesive manufacturer’s instructions regarding drying time. Be patient! Rushing can lead to tiles shifting or coming loose.
Step 10: Finish Up
After the adhesive has fully set:
Vacuum the Floor: Use a vacuum to remove any dust or debris from the surface.
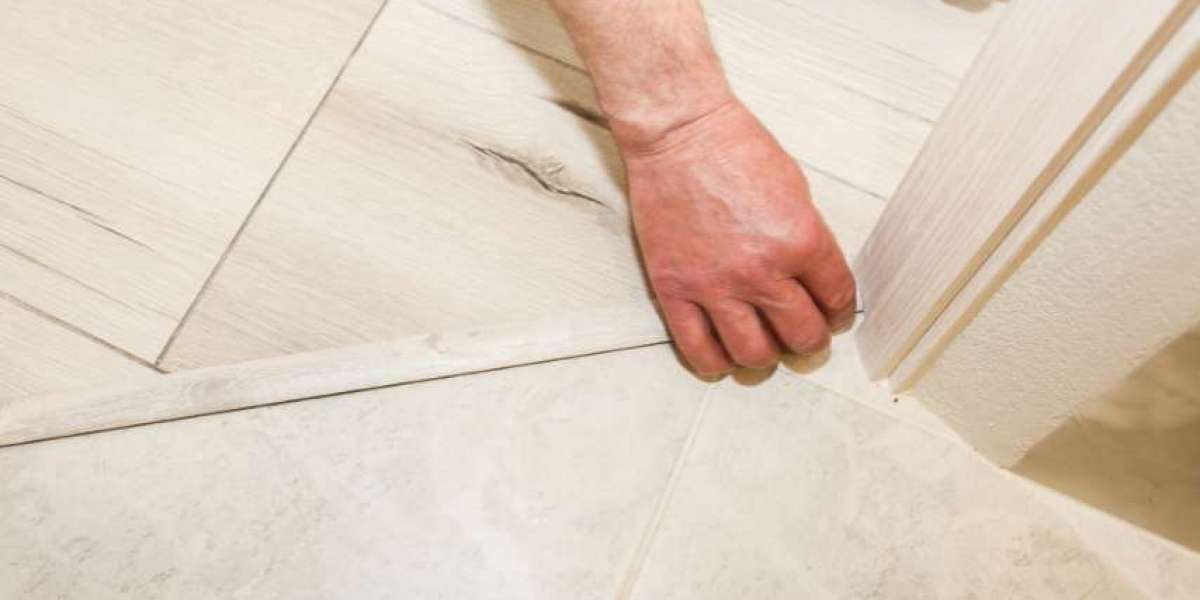
Add Transition Strips (if needed): Install transition strips where the carpet tiles meet other floor types for a smooth transition.
Enjoy Your New Floor: Admire your work! Enjoy the comfort and aesthetic of your new carpet tile flooring.
Conclusion
Installing carpet tiles is a rewarding DIY project that can significantly enhance the appearance of any room. By following these step-by-step instructions, you can achieve a professional-looking installation with ease. Remember to take your time, plan your layout, and enjoy the process!
Happy flooring!