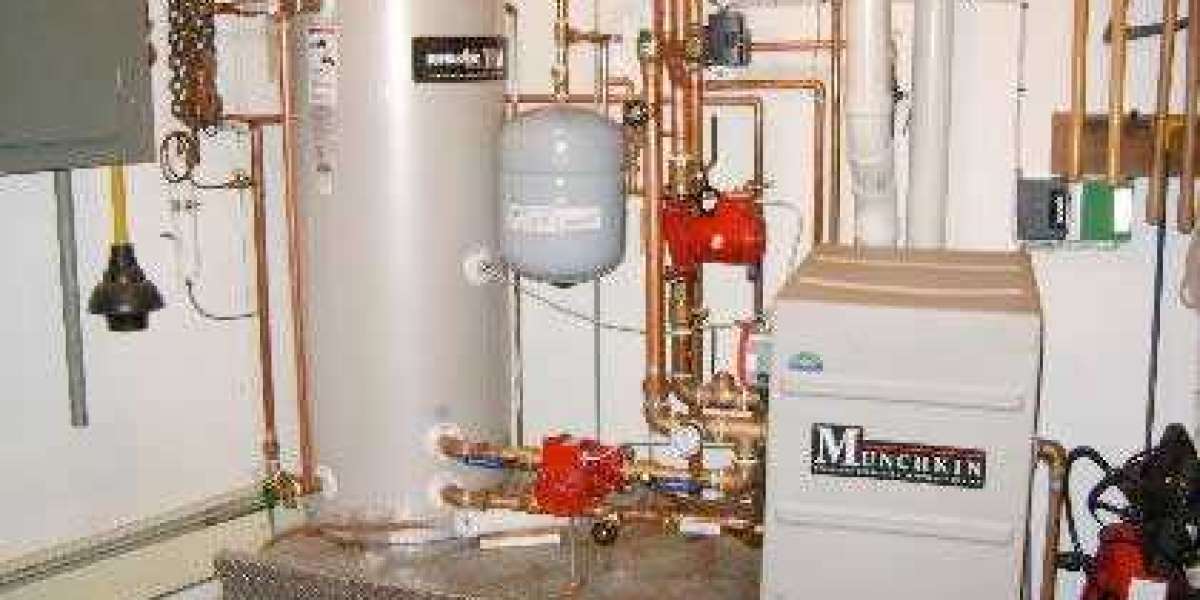
When it comes to maintaining your home's heating system, knowing how to handle certain repairs yourself can save you time and money. One common issue that homeowners may encounter is the need to replace a boiler's hot water coil.
While this task may seem daunting at first, with the right knowledge and preparation, it's possible to tackle it as a DIY project. In this guide, we'll provide expert tips for replacing your boiler's hot water coil efficiently and effectively.
Understanding the Boiler Hot Water Coil
Before diving into the replacement process, it's essential to understand the role of the hot water coil in your boiler system.
The hot water coil is a crucial component responsible for heating water that circulates through your home for various purposes, such as showers, taps, and radiant heating systems.
Over time, due to wear and tear or mineral buildup, the coil may deteriorate, leading to decreased efficiency or complete failure.
Assessing the Situation
The first step in replacing a boiler hot water coil is to assess the situation thoroughly. Start by identifying any signs of damage or deterioration, such as leaks, rust, or reduced heating performance.
Additionally, gather the necessary tools and materials for the replacement process, including a replacement coil, wrenches, screwdrivers, and pipe sealant.
Safety Precautions
Before beginning the replacement process, ensure your safety by taking necessary precautions. Turn off the power supply to the boiler and allow it to cool down completely. Additionally, shut off the water supply to the boiler to prevent any leaks or spills during the replacement.
Draining the Boiler
With the power and water supply turned off, it's time to drain the boiler to prepare for the coil replacement. Locate the boiler's drain valve and attach a garden hose to it to direct the water flow to a suitable drainage area. Open the valve slowly and allow the water to drain completely from the boiler.
Removing the Old Coil
Once the boiler is drained, you can proceed with removing the old hot water coil. Begin by disconnecting the pipes connected to the coil using wrenches and screwdrivers as necessary. Take note of the connections and orientation of the old coil to ensure proper installation of the replacement.
Installing the New Coil
With the old coil removed, it's time to install the new one. Carefully place the replacement coil into position, making sure it aligns correctly with the existing pipes and fittings. Secure the connections tightly using wrenches, and apply pipe sealant to prevent any leaks.
Testing and Inspection
After installing the new hot water coil, it's crucial to test the system to ensure everything is functioning correctly. Turn the water and power supply back on and monitor the boiler for any signs of leaks or irregularities. Check the heating performance and water temperature to verify that the replacement coil is working efficiently.
Final Thoughts
Replacing a boiler's hot water coil may seem like a daunting task, but with the right approach and preparation, it's a manageable DIY project for homeowners.
By following expert tips and safety precautions, you can effectively replace the coil and restore your boiler's heating efficiency. However, if you're unsure about tackling the replacement yourself, don't hesitate to seek assistance from a professional HVAC technician.
With proper care and maintenance, your boiler system will continue to provide reliable heating for years to come.